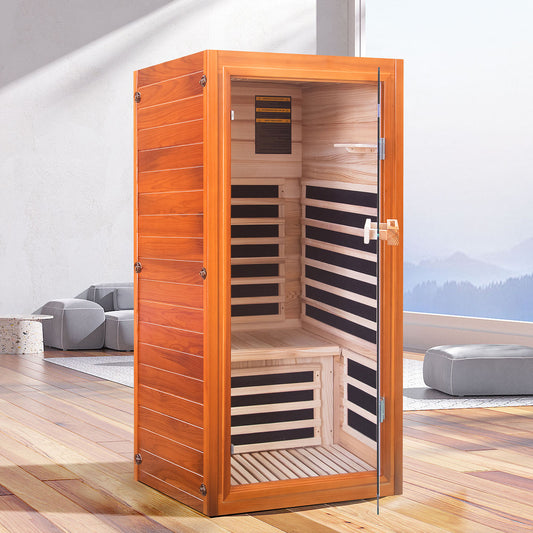
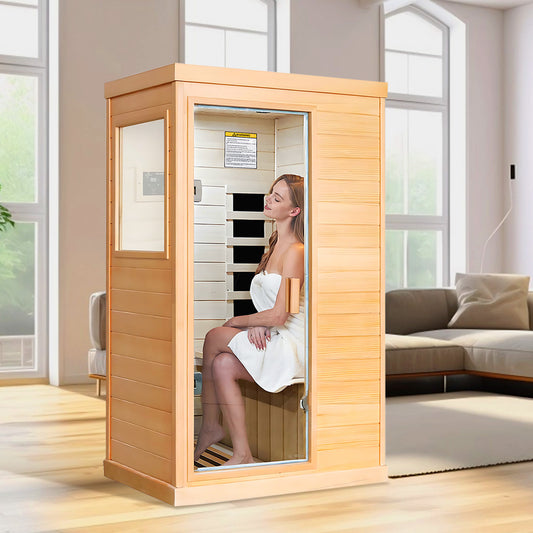
When the first snowflakes begin to fall and the crisp air settles in, there’s nothing quite like stepping into the soothing warmth of your outdoor sauna. The gentle heat, the quiet steam, the view of your backyard blanketed in white — it’s pure winter bliss. But behind that comfort lies one simple truth: cold weather can be brutal on your sauna if it’s not properly protected.
Snow, ice, and freezing temperatures can cause wood to crack, electrical components to fail, and moisture to accumulate where it shouldn’t. The good news? With a bit of seasonal care, you can easily protect your investment and ensure your sauna stays in perfect condition all winter long.
Whether you plan to keep your sauna running through the cold months or shut it down until spring, this guide will walk you through every step to keep it safe, dry, and ready for relaxation when you need it most.
Step 1: Deep Clean Before the Cold Hits
Before winter arrives, give your sauna a full refresh. A deep clean removes sweat, oils, and moisture that can lead to odor, mold, and wood decay during long periods of low ventilation.
Why Cleaning Matters
Wood naturally absorbs moisture from the air. If dirt and sweat are left behind, they can trap bacteria and cause discoloration or mildew. A fresh start in fall prevents all of that and extends your sauna’s lifespan.
How to Do It Right
- Clean every surface: Use a mild soap-and-water solution (a few drops of dish detergent in warm water) to gently scrub benches, backrests, and floors. Avoid bleach or harsh chemicals — they can damage the wood fibers.
- Treat mold spots: If you notice dark spots or musty areas, apply a mix of white vinegar and water, or use a sauna-specific wood cleaner.
- Rinse and dry completely: Wipe with a damp cloth to remove residue, then open the door and vents. Let the sauna air-dry for at least 24–48 hours — no shortcuts here.
- Optional moisture control: Place bamboo charcoal bags or desiccant packs inside to absorb lingering humidity.
Pro Tip: Once dry, lightly sand the bench tops and apply a thin layer of sauna-safe wood oil to restore their original tone and smoothness.
Step 2: Shield the Exterior From Snow & Moisture
Your sauna’s exterior faces the harshest conditions — snow, ice, and UV exposure. Protecting it properly is key to preventing long-term structural issues.
1. Roof and Covering
If your sauna sits under a covered deck, porch, or gazebo, you’re already one step ahead. If it’s fully exposed, use a high-quality waterproof yet breathable tarp to protect the roof and walls. Look for UV-resistant materials made for outdoor furniture or RVs.
Important: Don’t wrap your sauna airtight. Leave a few inches of space at the bottom for airflow, or moisture will become trapped and cause condensation. Secure the cover with bungee cords or tie-down straps so it won’t blow away in high winds.
2. Foundation and Drainage
Winterizing starts from the ground up. A solid, level base ensures snowmelt drains away from your sauna instead of pooling underneath.
- Check that your sauna rests on a stable concrete slab, patio, or raised platform.
- Clear away leaves, mud, and debris that can block drainage.
- Ensure the ground slopes slightly away from the sauna to prevent water accumulation when snow melts.
3. Wood Treatment and Protection
Before temperatures drop, inspect the exterior wood panels. If the surface looks faded or rough, it’s time to reseal.
- Use an exterior-grade wood sealant, oil, or protective stain designed for cedar, hemlock, or fir.
- Focus on exposed corners, window frames, and the roof edges — these take the most abuse from rain and snow.
- Let the sealant dry completely before covering your sauna for winter.
Pro Tip: A fresh protective layer not only guards against water but also helps prevent UV discoloration and cracking caused by sudden temperature changes.
Step 3: Protect Electrical Components and Heating Systems
Cold weather and moisture can wreak havoc on electrical systems, so this step is crucial whether your sauna uses a traditional heater or far-infrared panels.
1. Maintain the Heater and Stones
- Turn off the power, then carefully remove the sauna stones (if applicable) and rinse them under running water to remove dust and residue.
- Let them dry completely before putting them back in place.
- Inspect the heating elements or infrared panels for any visible corrosion, cracks, or loose connections.
- If you notice damage, contact a qualified electrician or the sauna manufacturer for maintenance — don’t attempt to repair electrical components yourself.
2. Power and Outlet Safety
- If you won’t use your sauna this winter: Switch off the circuit breaker that powers it. This eliminates any risk of electrical faults or surge damage during storms.
- If your sauna’s power cord is exposed outdoors: Unplug it and cover the outlet with a weatherproof exterior cover — ideally one that’s UL-rated for freezing and UV conditions.
- If you plan to keep using it: Double-check that cords and plugs are dry and intact before every use.
Pro Tip: Label your sauna’s breaker in your home panel, so you or any family member can easily turn it off if needed.

Step 4: Smart and Safe Winter Sauna Use
Many sauna lovers continue using their units even during freezing months — and with the right precautions, it’s perfectly safe (and incredibly satisfying).
1. Pre-Use Safety Checks
- Clear any snow or ice from the path leading to your sauna to prevent slips.
- Check that the roof isn’t overloaded with snow — use a soft broom or snow rake to remove buildup.
- Make sure your sauna door and hinges move smoothly (cold can stiffen them over time).
2. Gentle Preheating
On extremely cold days, give your sauna more time to warm up. Allow gradual heating to prevent thermal shock to the stones, glass, or metal parts. This not only improves safety but extends the life of your heater.
3. Post-Session Care
After each session, open the door slightly to release humidity and let the air circulate. This prevents condensation from freezing inside the walls or under benches.
Your Outdoor Sauna Winterization Checklist
Here’s a quick recap you can save or print for reference:
- ✅ Thoroughly clean and dry the interior
- ✅ Remove mold spots and deodorize
- ✅ Inspect and reseal exterior wood panels
- ✅ Clear foundation area and improve drainage
- ✅ Use a breathable waterproof cover (with ventilation space)
- ✅ Clean sauna stones and check heater components
- ✅ Shut off the circuit breaker or protect outdoor outlets
- ✅ Remove heavy snow regularly from the roof
- ✅ Keep pathways safe and slip-free
Final Thoughts: Protect Your Investment and Enjoy the Season
Taking just a few hours each fall to winterize your outdoor sauna will save you from headaches, repairs, and unnecessary costs. More importantly, it ensures your personal wellness retreat is always ready — no matter how harsh the weather gets.
Imagine stepping into your warm, cedar-scented sauna while snow drifts quietly outside. That experience is pure winter magic — and with the right care, it’s one you’ll enjoy year after year.
If you’re looking to upgrade or replace your current setup, explore our Outdoor Infrared Sauna Collection to find durable, energy-efficient models designed for all-season use.
Stay warm, stay safe, and let your sauna bring comfort to even the coldest winter days.


